At the top left of the manual plotting main screen is a set of controls for Global Layers. Global layers are layers that can be preloaded and are able to be overlaid onto any map being plotted. These are user defined as well as imported from the Global Contacts utility (covered in detail under the Global Contacts section of the help guide).
![]()
To create a Global Layer, click <Edit> to open the Add New Layer dialog box and enter a label for the first layer.
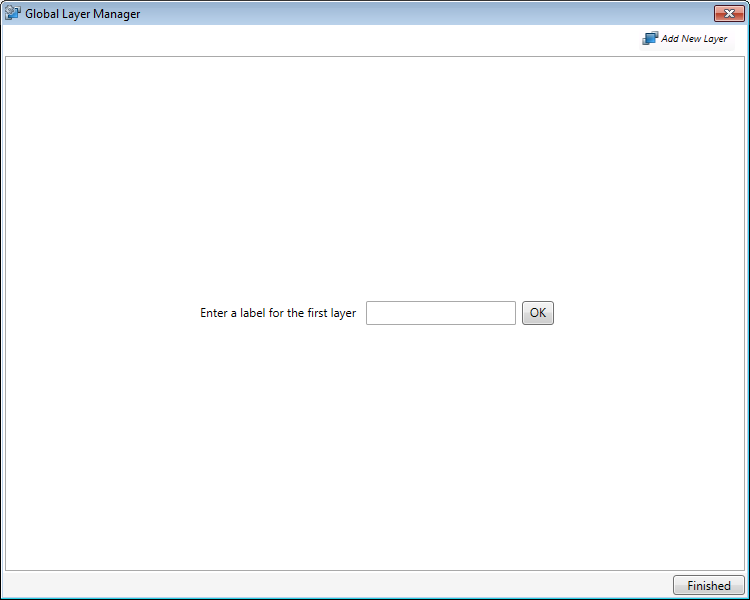
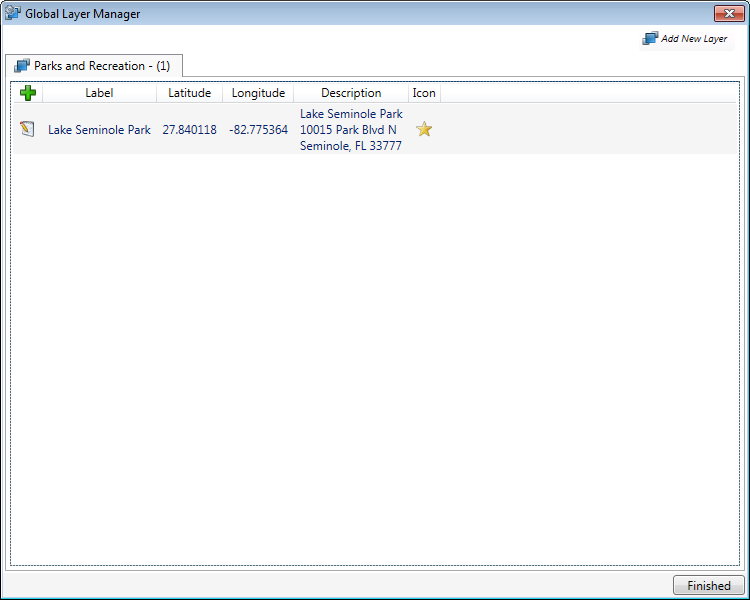
Use the following steps to create a layer listing some of the nearby parks and recreation areas. Type “Parks and Recreation” into the label box and click <OK> to create the layer. Click the green <add> icon to add a new point to the Global Layer Manager.
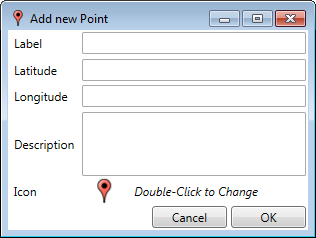
Type in a label for the point on the layer, enter the latitude and longitude of the location, along with a description. To change the default icon, double click the icon and select from the stored icons in the program. Click <OK> to select the icon and go back to the Add New Point dialog. Click <OK> to add the new point.
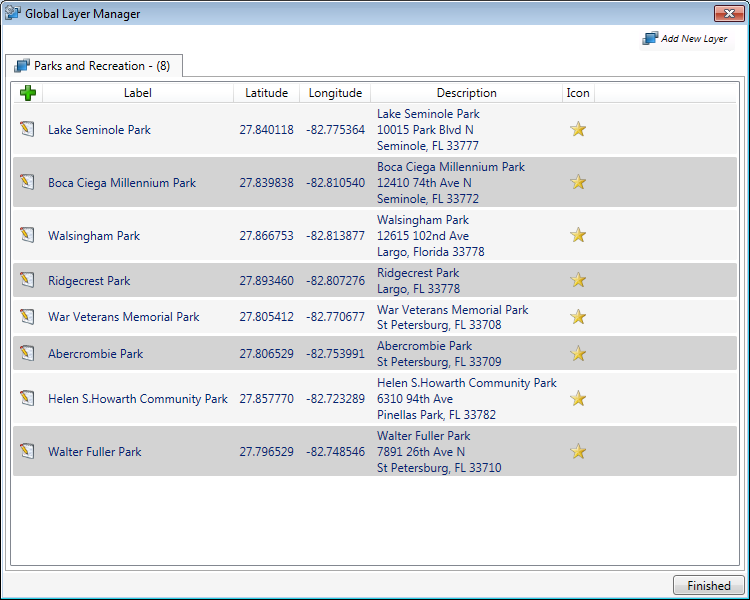
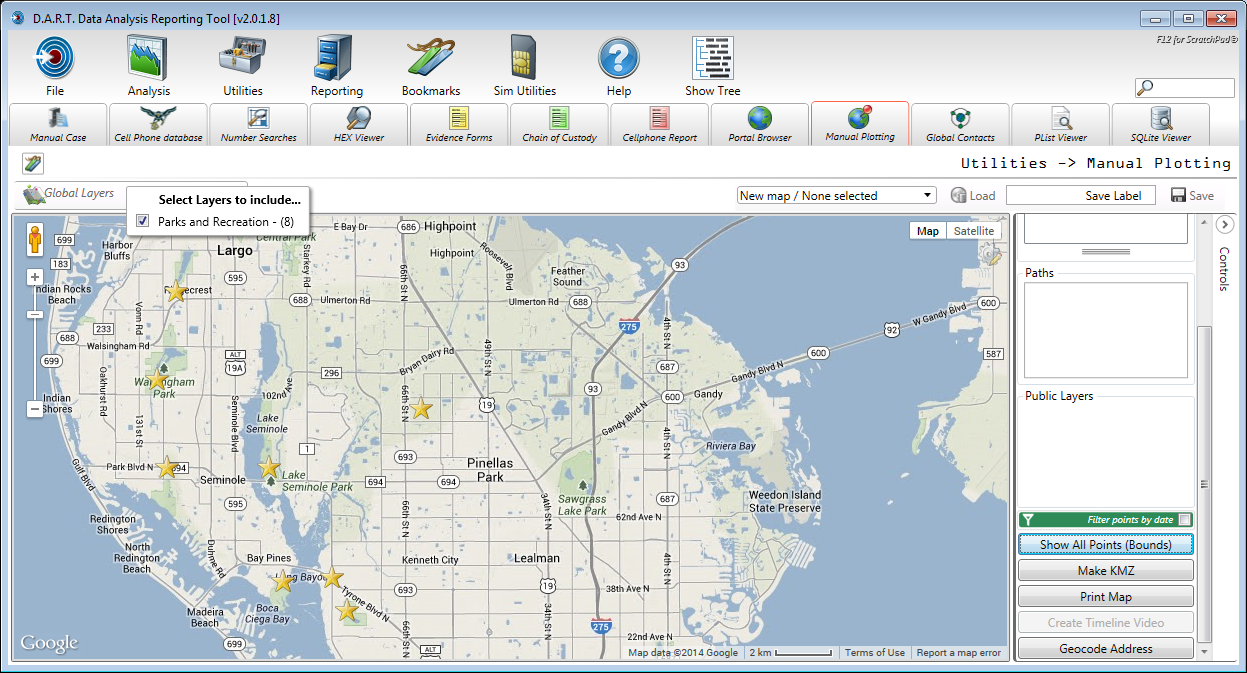
Continue this until all desired points have been added. Clicking <Finished> adds the layer to Global Layers. To show the layer on the map, click the <Layers>icon.
![]()
Put a check in the checkbox to include the layer in the display.
To edit the layer, or to add another layer, click the <Edit> icon to bring up the Global Layer Manager again.
![]()
The current layer can be edited, or by clicking <Add New Layer> a new layer can be added to the Global Layer Manager.