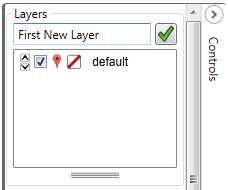
By default, there is one layer on the map. That layer is the Default layer. It can be edited or renamed, but should not be deleted. To add a new layer to the map, click <Add Layer>. Enter the name of the new layer in the provided box and click the green <Checkmark> icon to add the layer.
The Edit Layer dialog opens, and the attributes of the new layer can be added. To change the Label for the new layer, simply type in the new label for the layer in the space provided. To change the default icon for the layer, click the gray pin <Icon> and select from the stored icons in the program. Draw connecitng lines between the points in the layer by putting a check in the <Show Lines> checkbox, and selecting a line color from the drop down box. The color ‘transparent’ is the system default, and the lines won’t show up unless a color is selected.
A notes box is for the investigator to add notes to the layer.
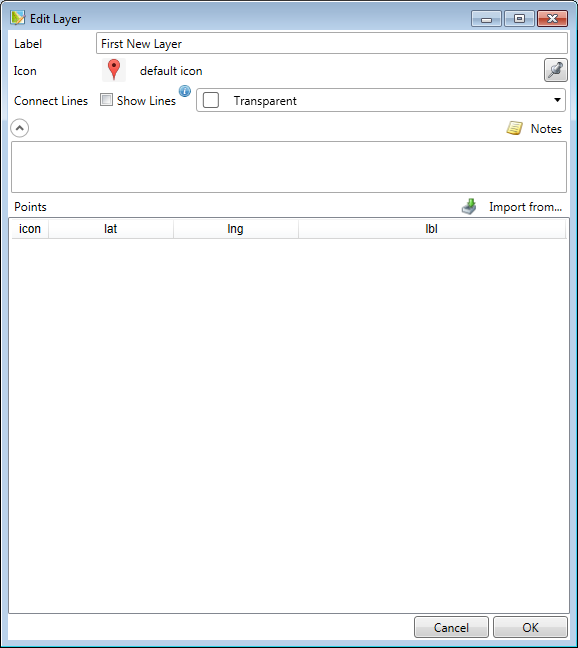
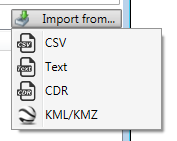
Points can be loaded into this layer from CSV files, Text/Manual Entry, CDR files, and KMZ/KML files. Individual icons and labels for each point can also be added. To add points, click <Import From> and select the source for the points to be added.