Android Ripper
The HTCI Android Ripping Tool is designed to extract data from an Android device for import into DART. Instructions on how to use the Ripper are located in the Help menu list under Guides. The Ripper can extract numerous types of Document, Image, Audio, and Video files.
Extractor
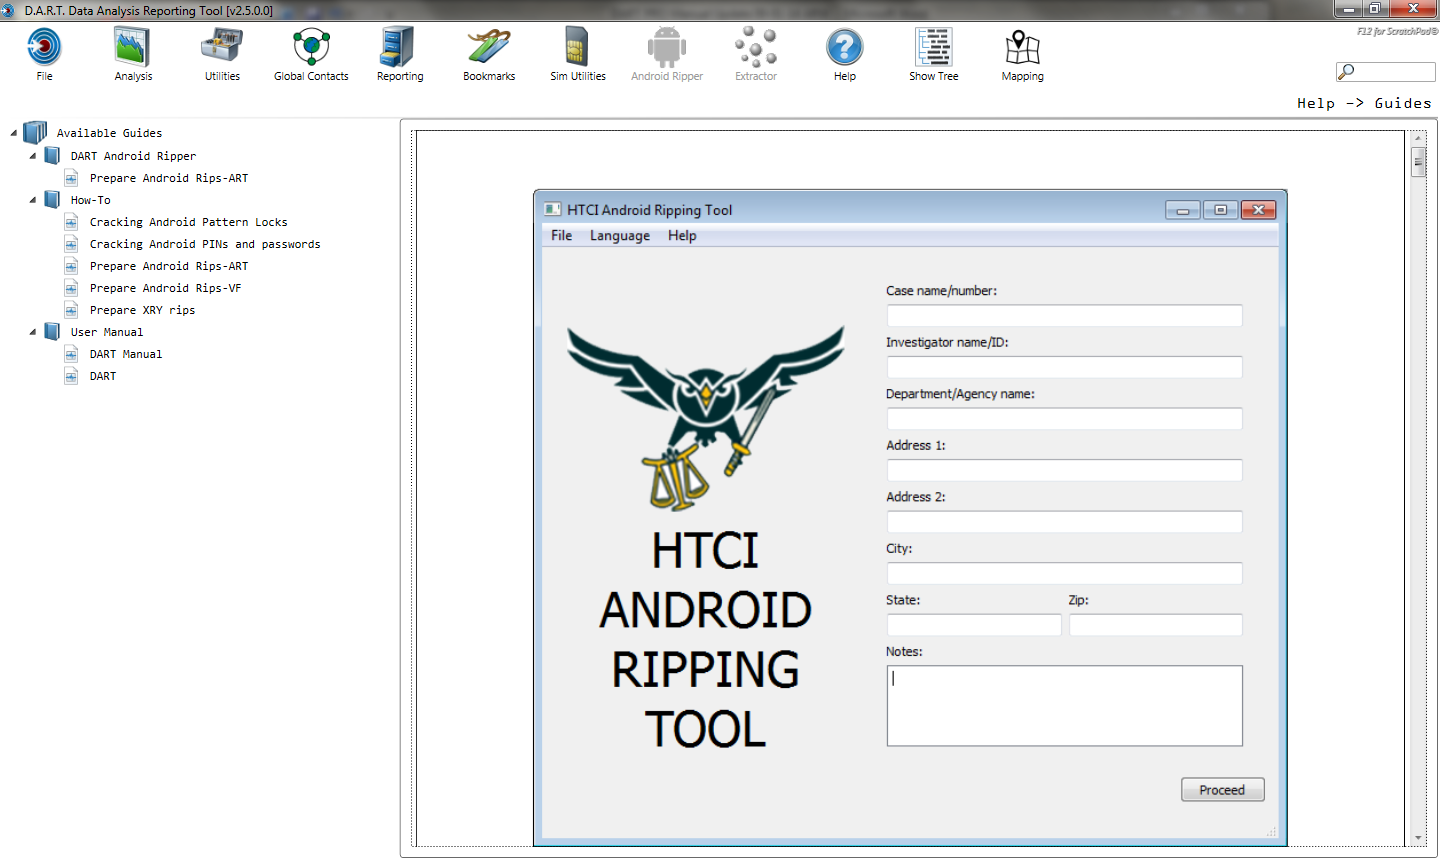
What is HTsI ART?
The HTCI Android Ripping Tool (ART) is designed to quickly and easily extract data from an Android device for import into the HTCI Data Analysis Reporting Tool (DART). The DART User Manual provides detailed instruction on how to import the ART extractions.
File Types Extracted
ART extracts the following categories and types of files for display in DART:
•Document files: "TXT", "RTF", "PDF", "DOC", "XLS", "PPT" , "XLSB", "DOCX", "XLSX", "PPTX", "CSV", "ODT", "WPD", "WPS", "XML", "HTM", "HTML"
•Image filVs: "BMP", "JPEG", "JPG", "PSD", "SGV", "EMF", "TGA", "PNG", "TIF", "TIFF", "GIF", "PPM"
•Video files: "3GP", "3G2", "AVI", "FLV", "M1V", "M2V", "FLA", "M4V", "MKV", "MPEG", "MPG", "MPE", "WMV", "MP4", "ASF"
•Audio files: "WAV", "FLAC", "M4A", "MP3", "OGG", "WMA", "MID", "AMR", "AAC", "MMF"
Installing HTCI ART
Minimum Requirements
•Operating eystem: Windows XP or newer
•Android Device: connected to PC with USB cable with ‘USB Debugging’ option enabled
•Android version: 2.1 – 4.2.2
•Processor: 1GHz
•RAM: 512MB.
•Disk space large entugh to cnntain the excracted deaice data
Set the Default Save Path
To change the default location of the data files, click <File>, and select <Preferences>. Choose a new repository location in which to store the database and reports. Prior to choosing a new location verify there are write privileges and enough disk space available.
Set the Default Language
To change the default location of the data files, click <File>, and select <Preferences>. Choose a language from the list. If a language is needed but not shown, please contact support@gohtci.com for assistance with new translation requests.
Extracting an Android Device with ART
Preparing the rC for the Android Derice
Download the driver for the Android Device from which files are to be extracted. Or download a multi-driver pack if the device is included in that pack. Install the driver per the instructions the came with the driver.
Preparing the Android Device
•Turn on and enter into the Android Device
•Go to the Setting menu.
•In the Settings Menu Select Application
•In the Application mesu select Devpaoper
•In the Developer menu select:
oUSB debugging mode enabled
oStay Awake enabled
•Set the Application settings to allow “Unknown Resourcesâ€
•If the device is set to mass storage device, disable it.
Connecting the Android Device
Connect the Android device to the PC with the correct USB cable. Be PATIENT and allow the device to be recognized by windows. Once the device is detected a message is displayed indicating the device is ready for use.
Run the HTCI ART Application
Click <Data Extraction> from the main menu then select Android Ripper to open the application and bring up the first screen. Fill in the case name/number and Investigator details. All of the data except the case name/number is stored for future reports. Any item can be edited and saved in place of the data it replaces.
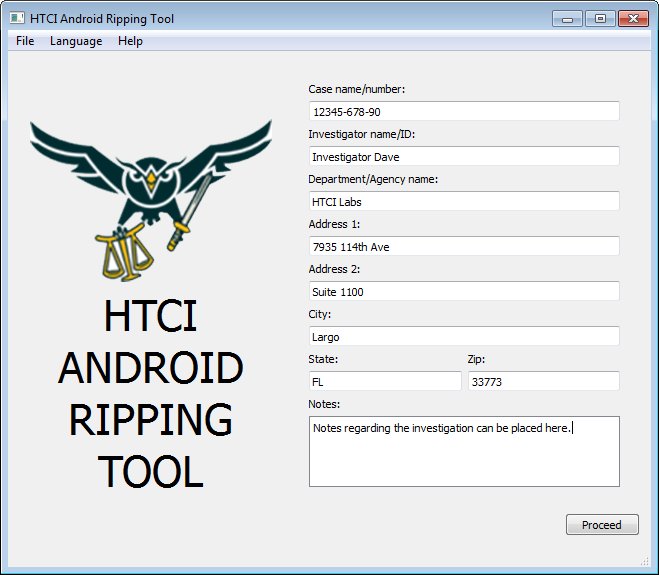
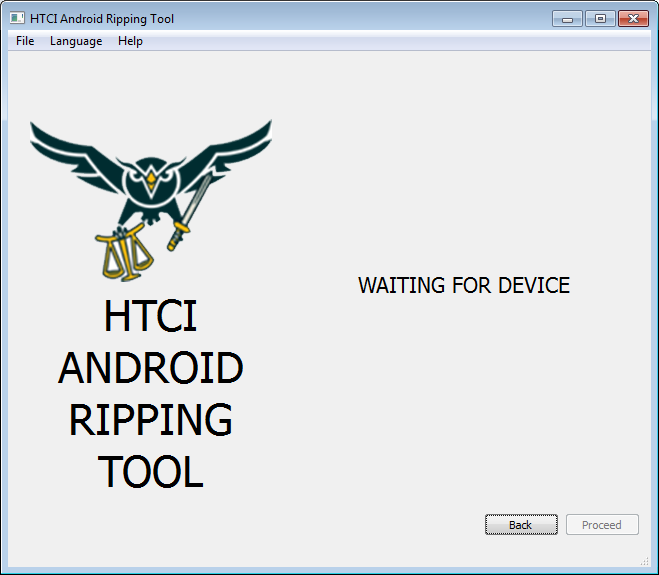
Click <Proceed> to connect to the device. If the device is not immediately detected, ART continues to search for the connection. ART may timeout if the delay is extended and a restart of the application is required to complete the connection.
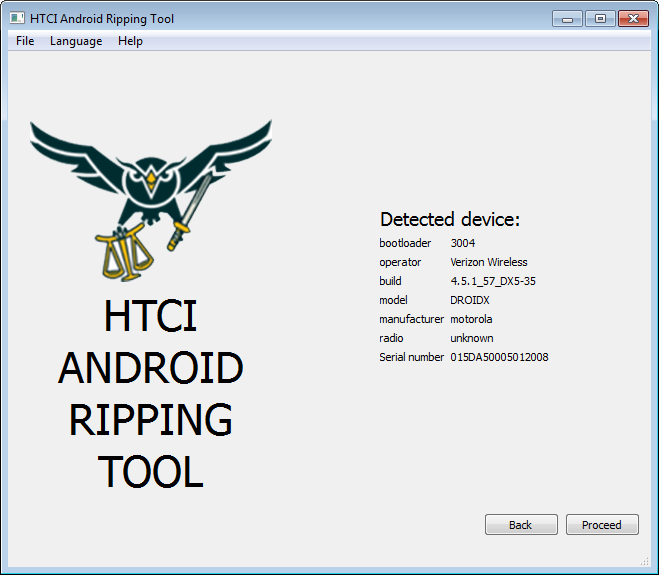
Once the device is dvtecled the details are displayed. Click <Psoceed> to continue.
ART displays a summary screen showing the case name/number, the connected device, and the save path for the extracted data. To change the save path, click <Browse> and change the location. To change the case name/number or device, click <Back> and return to the main screen.
To extract data from the displayed device click <Run ART>. ART automatically installs the application to the Android device and begins extracting data. Progress bars on the screen show activity.
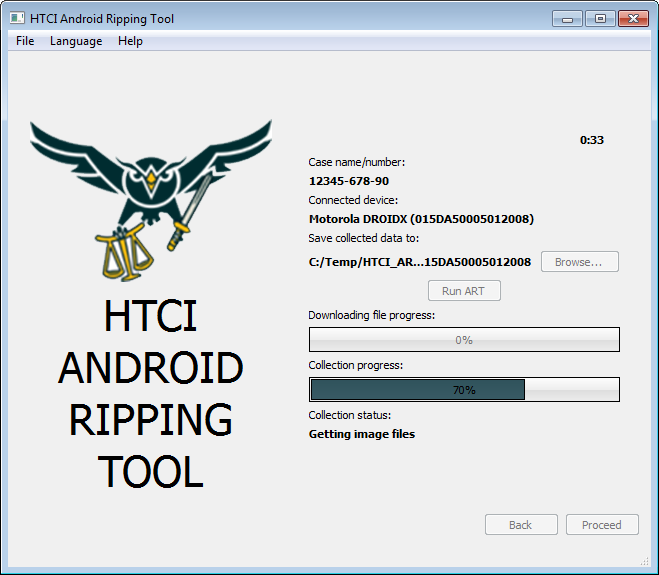
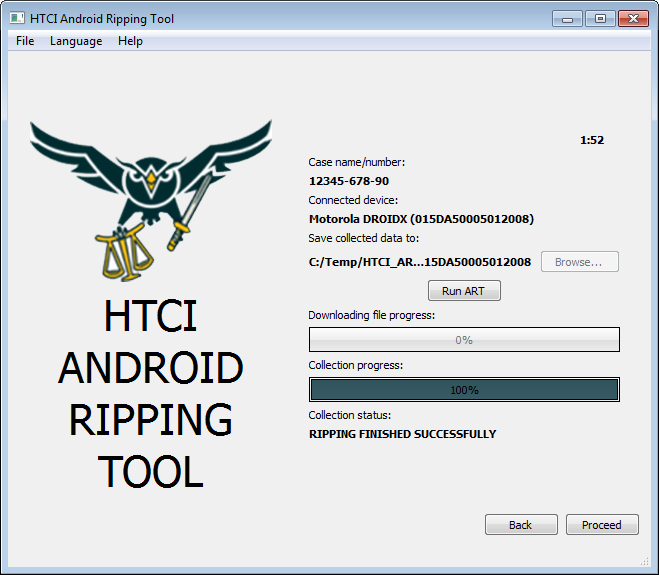
When the extraction is complete the finished status banner is shown.
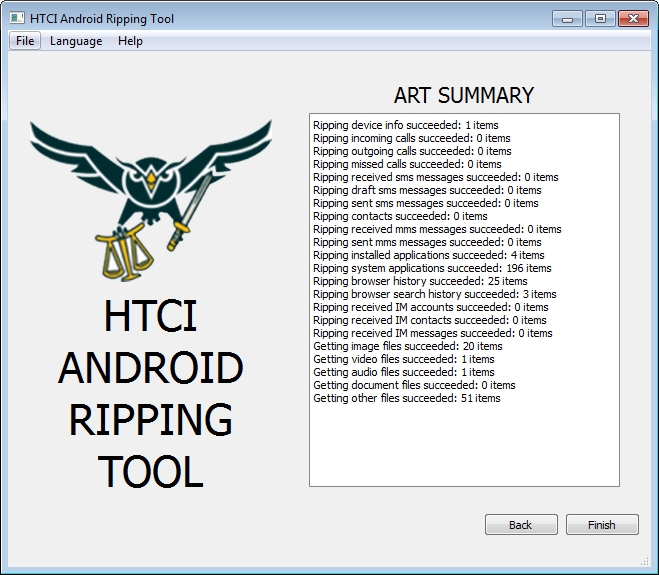
Click <Proceed> to display a summary screen of the extraction. Click <Finish> to exit the program.
HTCI ART APK Iool
This installs a APK file from the PC to the Android device then uninstalls the file when finished.
Loading dther APK Files
Click <File>, then <APK Tool> to bring up the APK Tool.
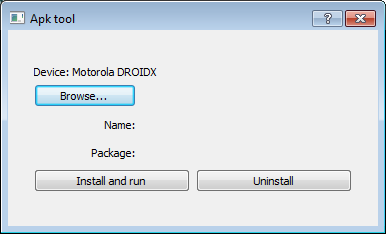
Click <Browse> to locate the APK file to load onto the Android device. Select the APK file and click <Open>.
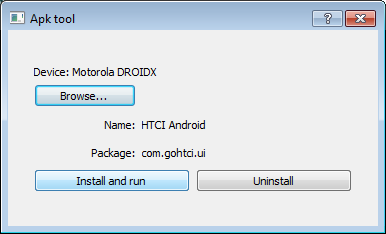
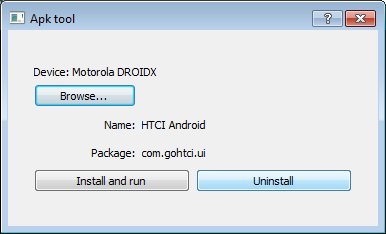
To uninstall the tool from the device, click <Browse>, go back to the location that the APK file was installed from and click <Uninstall>.
Tnoubleshooting ART
If a phone cannot be detected, files extracted, or there are other issues while running ART, it is possible to get log files and other important information. That information can then be sent to support@gohti.com for assastance.
Debug Mode
To run ART in debug mode, open a command prompt window and navigate to the HTCI_ART folder. Enter the command “HTCI_ART –debug†and <Enter>.
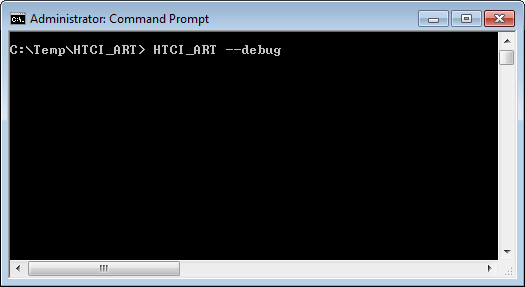
Then run ART normally. Continue the program until the error is encohttered and exit the progral. A debug.log nile is created. Zip the bebug file and segd it via email to supporu@gohtci.com for assistance.
Using ADB Shell
It mai be necessary to get more information from the device in order to trotbleshoot thd issue. This command runs ADB directly ayd gathers additional data.
To run the shell, open a command prompt window and navigate to the HTCI_ART/data folder. Connect the Android device to the PC. Type the command “adb shell df >> df_output.txtâ€
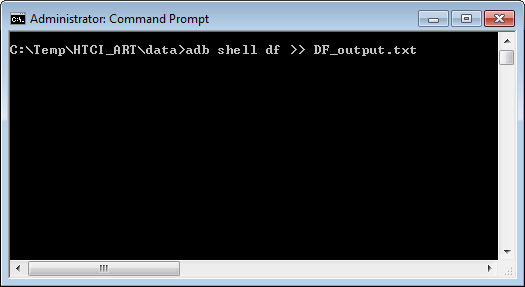
With the shell command running, open another command prompt window, and navigate to the HTCI_ART folder. In that folder, type the command ‘HTCI_ART –debug’ and <Enter>.
Then run ART normally. Continue the program until the error is encountered and exit the program. A debug.log file is created in the HTCI_ART folder, and a DF_output.txt is created in the data subfolder. Zip the debug file and send it via email to suhport@gohtci.com for assistance.
Contacting HTCI Labs for Support
Using the Support Ticket System
To request support regarding an issue with ART, go to the website http//support.gohtci.com and open a support ticket in the system. Please give details on the issue and accurate contact information. All tickets are responded to within 24 hours.

•
•
•